Sunday, September 8, 2013
Landscaping Walls
Our Landscaping Walls are finished! Now for the fun part, to fill the tiers with bushes, trees, and flowers. Oh, how I love the Fall season! Any suggestions for types of trees to consider for these top and bottom wall tiers? We have a ginkgo tree here in this half wall out in front of our house. We hope to have it all landscaped and finished by the end of October. :)
Sunday, August 25, 2013
"I Love My Dog" Chipboard and Paper Bag Album
Summer is slowly slipping away! This little album is one that I managed to complete during the busy summer months. I used a variety of dog scrapbook paper and embellishments. I love the sparkle that some of the pieces have-especially on the back cover! Take a look!
Friday, July 19, 2013
"Celebrate" Wall Display
My husband and I gave our Home Office a major redo this past week! Here are the before and after pictures: December 2008 and July 2013 What a difference! You can view more pictures of our redo by going to my Teaching Tiny Treasures By T blog. Check out this cute little scrapbooking wall display that I made to remind us of upcoming important birthdays and anniversaries! I bought a large, white round wood circle and covered it with a piece of scrapbook paper using mod podge. Then, I took a piece of bird-shaped chipboard and covered it as well with coordinating scrapbook paper and let it dry.Next, I took a piece of twine and hot glued it to the wood piece. I positioned and placed the bird on top of the twine. Then, I added some white flowers and other embellishments to the bird and twine. For the next step, I tried to find a door knob to screw into the wood, however, it would have stuck out through the back of the wood piece. So, instead, I used three white push pins to press into the wood. I hot glued buttons over the tips of the pins and added some green gem embellishments. Finally, I placed some white metal rings over the pins to display important anniversary and birthdays of people in our family! Now, I should be plenty ahead in remembering these upcoming dates!
Saturday, June 22, 2013
Bird Chipboard and Paper Bag Album
Well, here it is! This finished product! I just love the colors and textures in this little album. Here is the front cover, with chipboard bird.
I used a metal ring fastener to hold the pages together. Ribbons were wrapped around the ring along with this metal key.
Tearing and ripping paper is a must, as there is no right or wrong when making these little albums-you can be as creative and as detailed as you want!
So, now that you have seen the front cover, let's take a look at the inside. The chipboard bird on the front cover opens up to reveal more room for pictures just inside the front cover-it's like a secret door!
Here is a view of the album from the side-you can see all of the pockets from the paper bag! I like to use metal attachments and clips to hold the pages shut.
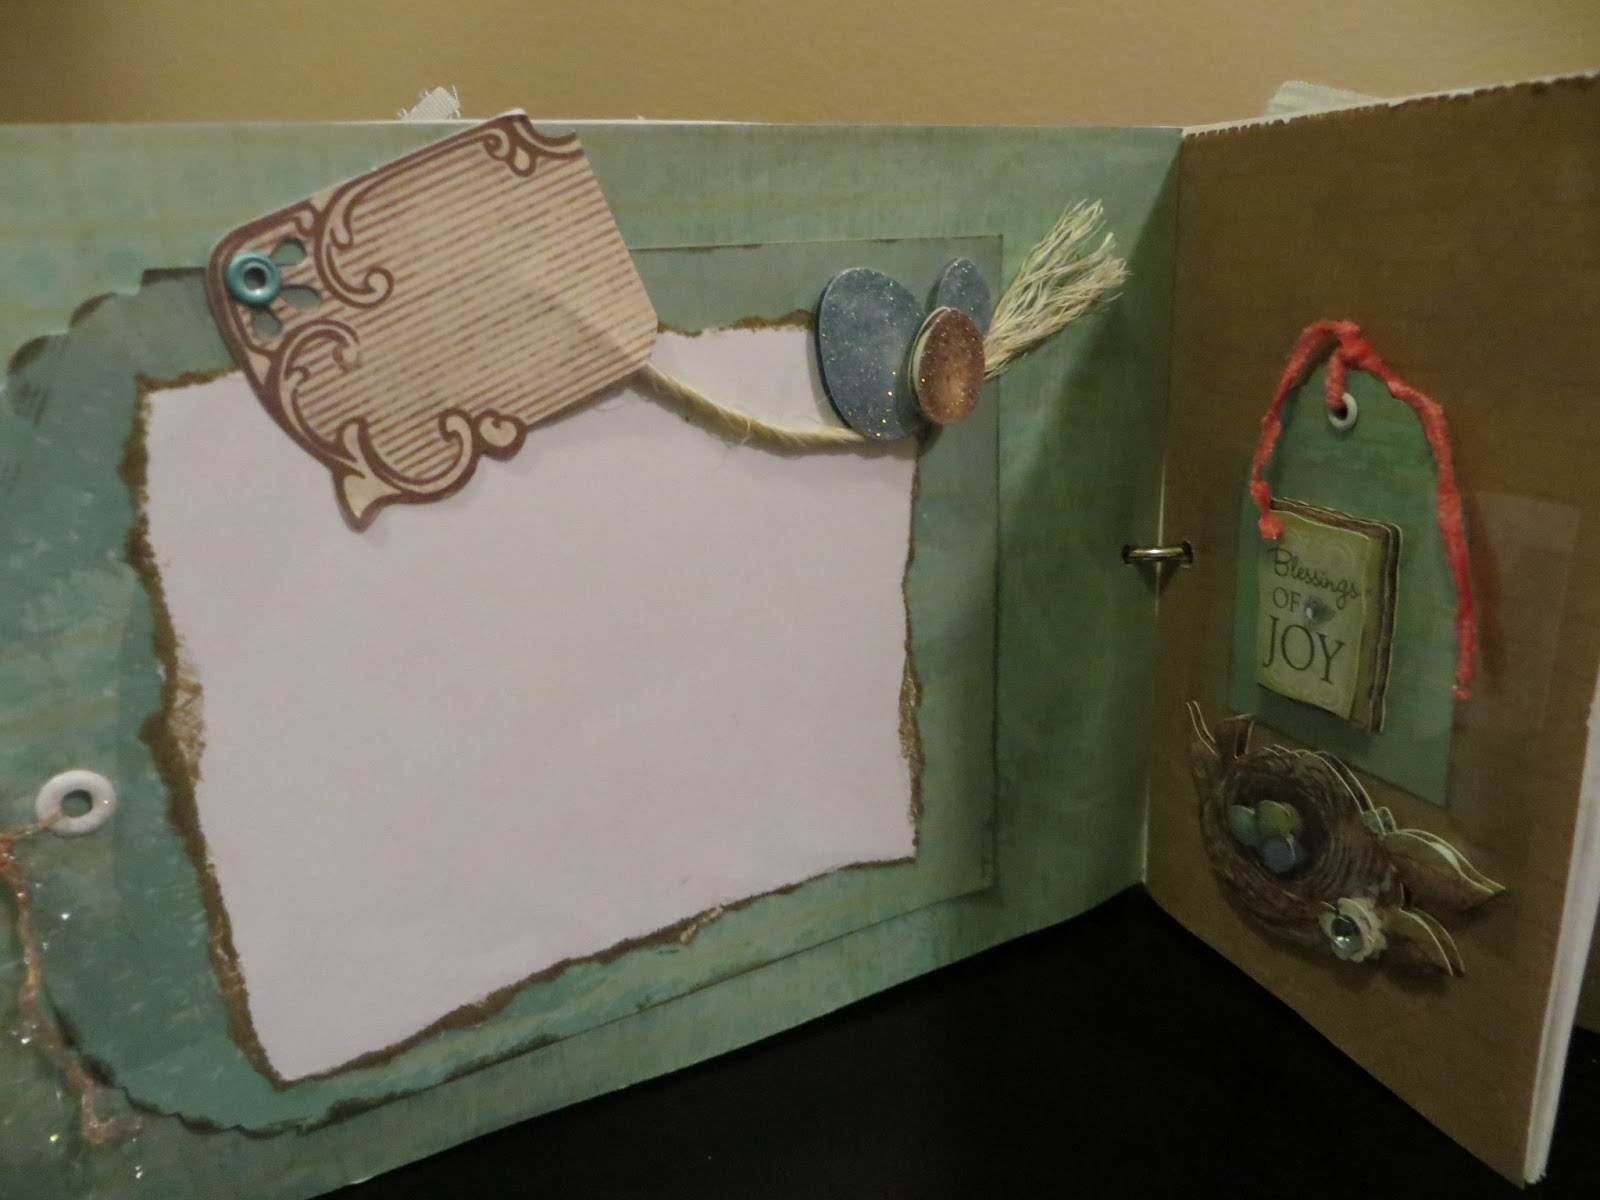
Here are more of the inside pages...
You'll notice many small tags inside the album itself. These smaller tags are great for journaling...
Here are some of the larger tags that go inside the pockets of the paper bag (fronts and backs). Larger pictures fit perfect on these tags!
Here is the back cover...
This album will look great on a little shelf that sits at the top of our stairs...now, what pictures shall I add to it?
Pictures or not, it is pretty to look at! Thanks for taking the time to check out my newest paper bag creation!
Subscribe to:
Posts (Atom)